A Bespoke, Modular Machine Knitted, Naturally Dyed Tunic!
Machine Knitted Modular Wrap from MA Collection, 2018
One of the pledges from my Crowdfunder was for a bespoke piece of knitwear - a tunic using a modular technique inspired by a piece that featured in my MA collection.
The original piece was made at the end of my Masters project, and was designed to act as a sampler to showcase all of the British wool yarns I had worked with, and all of the natural colours I had dyed throughout the project.
It was knitted in a modular style on the knitting machine, where each section was joined onto the next, carefully considering size, placement and colour. I wanted the piece to also be functional, and so I ensured it became roughly 90cm squared - equivalent to a standard shawl or wrap.
This sampler now makes for an excellent teaching tool to show the breadth and depth of colour from both natural plant dyes and native sheep breeds, I take it everywhere with me!
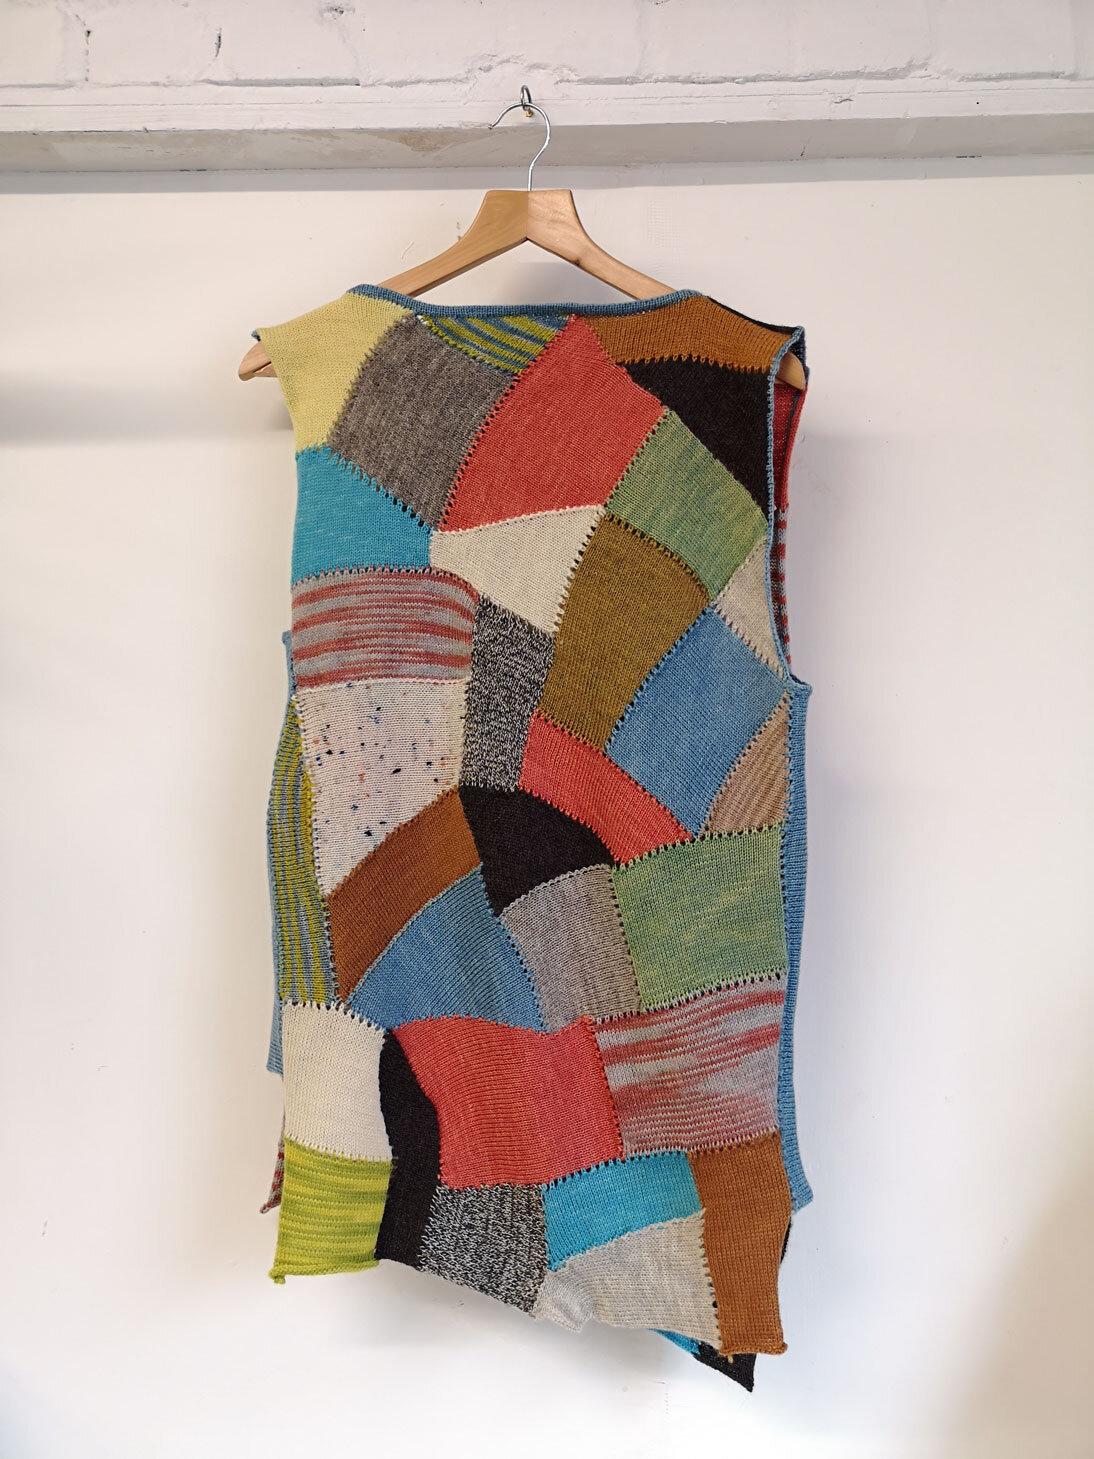
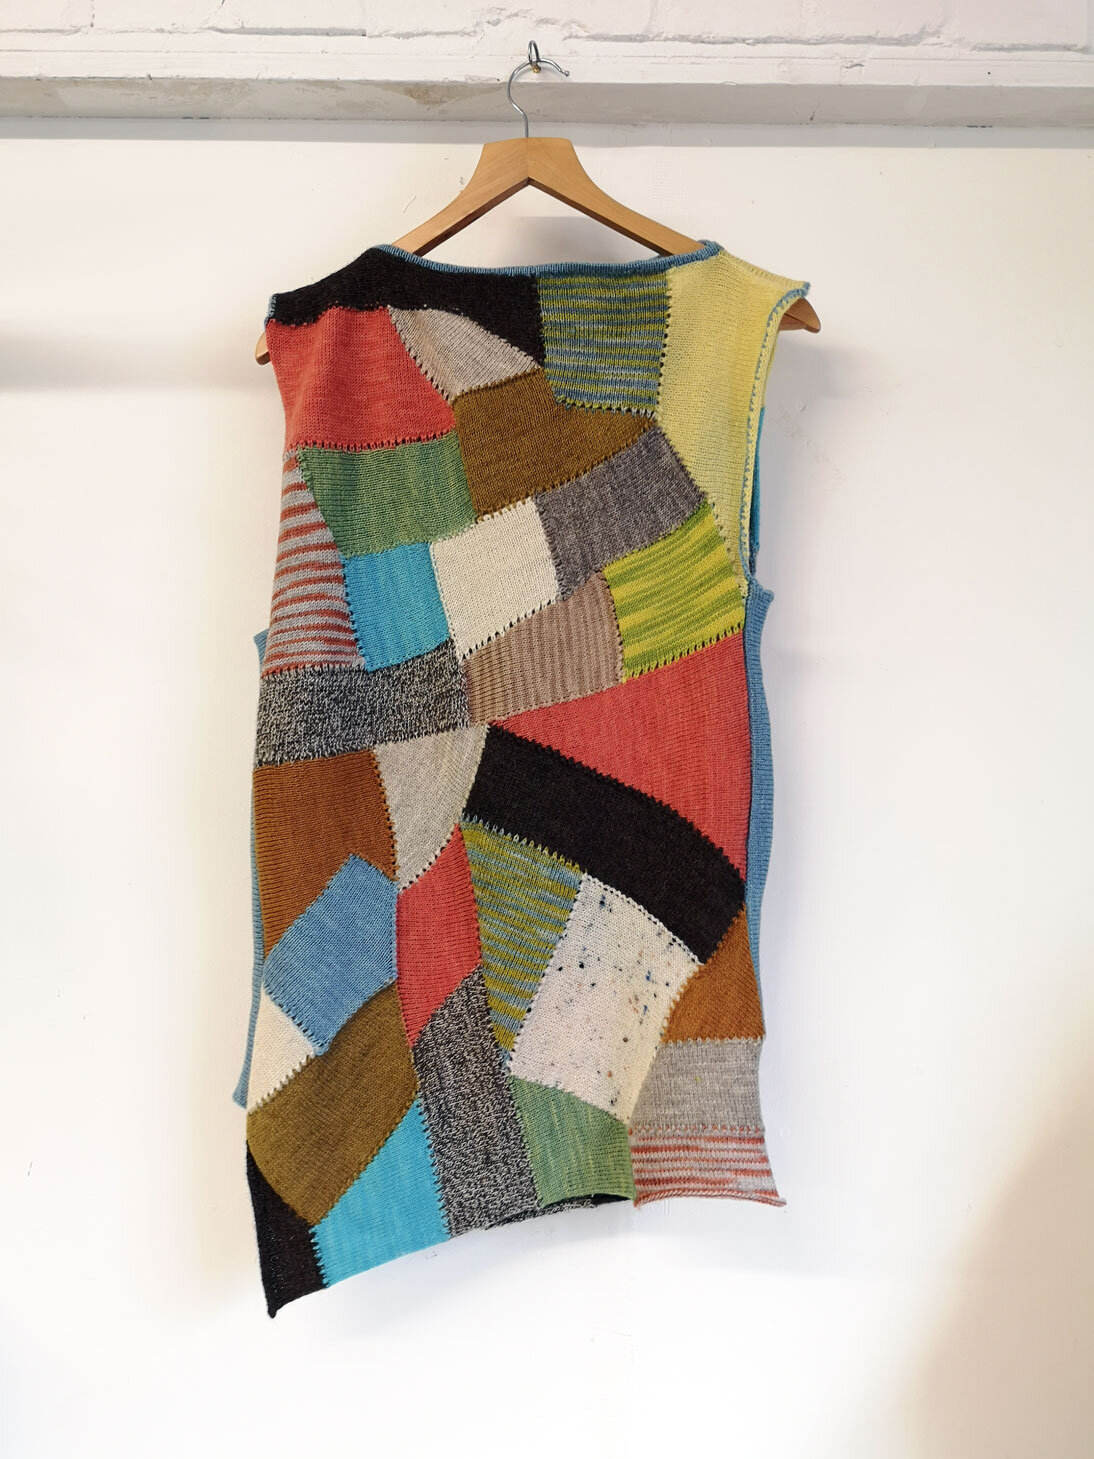
The tunic commission was to resemble this piece, but feature more naturally dyed colour and less undyed grey. All of the yarns were leftover from previous projects, apart from the red yarn (dyed with madder) which was specifically requested as a feature colour. The whole piece took roughly a year to complete, as it was worked around other projects. Now the piece has been delivered to the (very patient) client I can explain my process in making it…
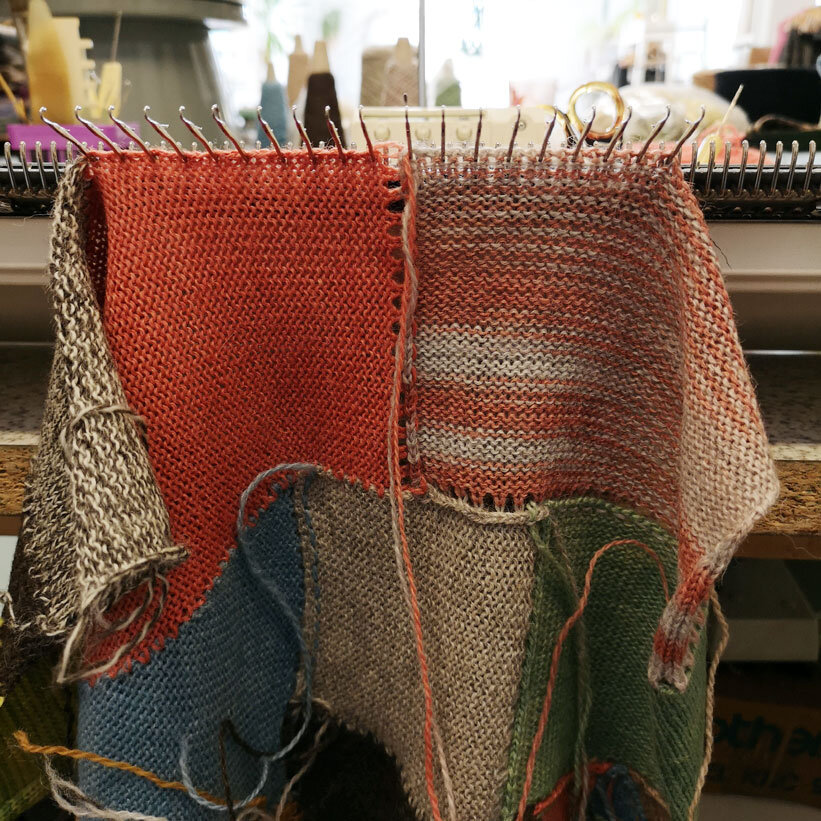
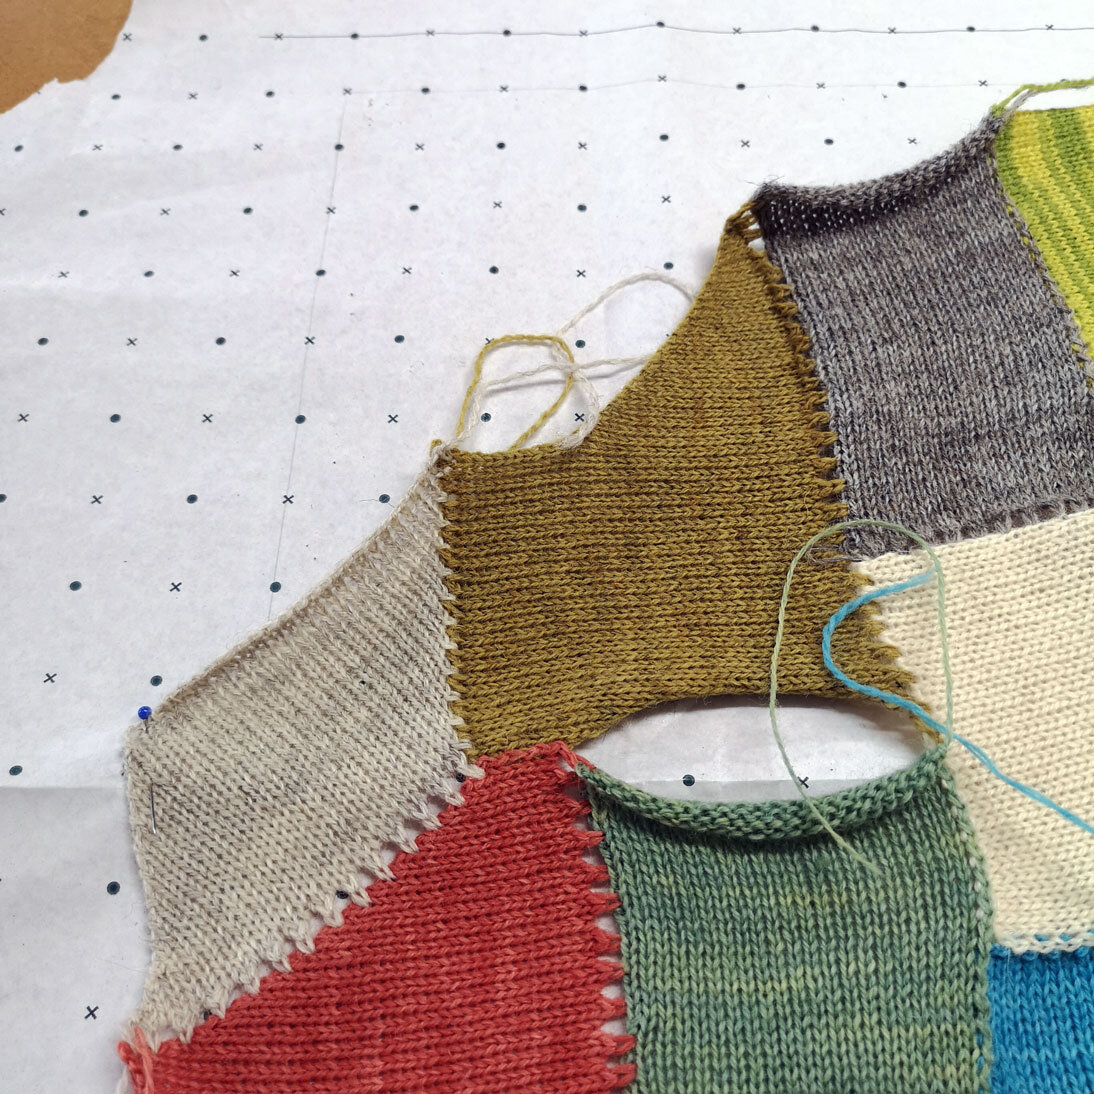
The construction of a modular piece begins with the knitting of a triangle in one yarn. That piece is then hung on the machine using every other needle, and, with a different yarn, one row is knitted. This creates a neat eyelet join.
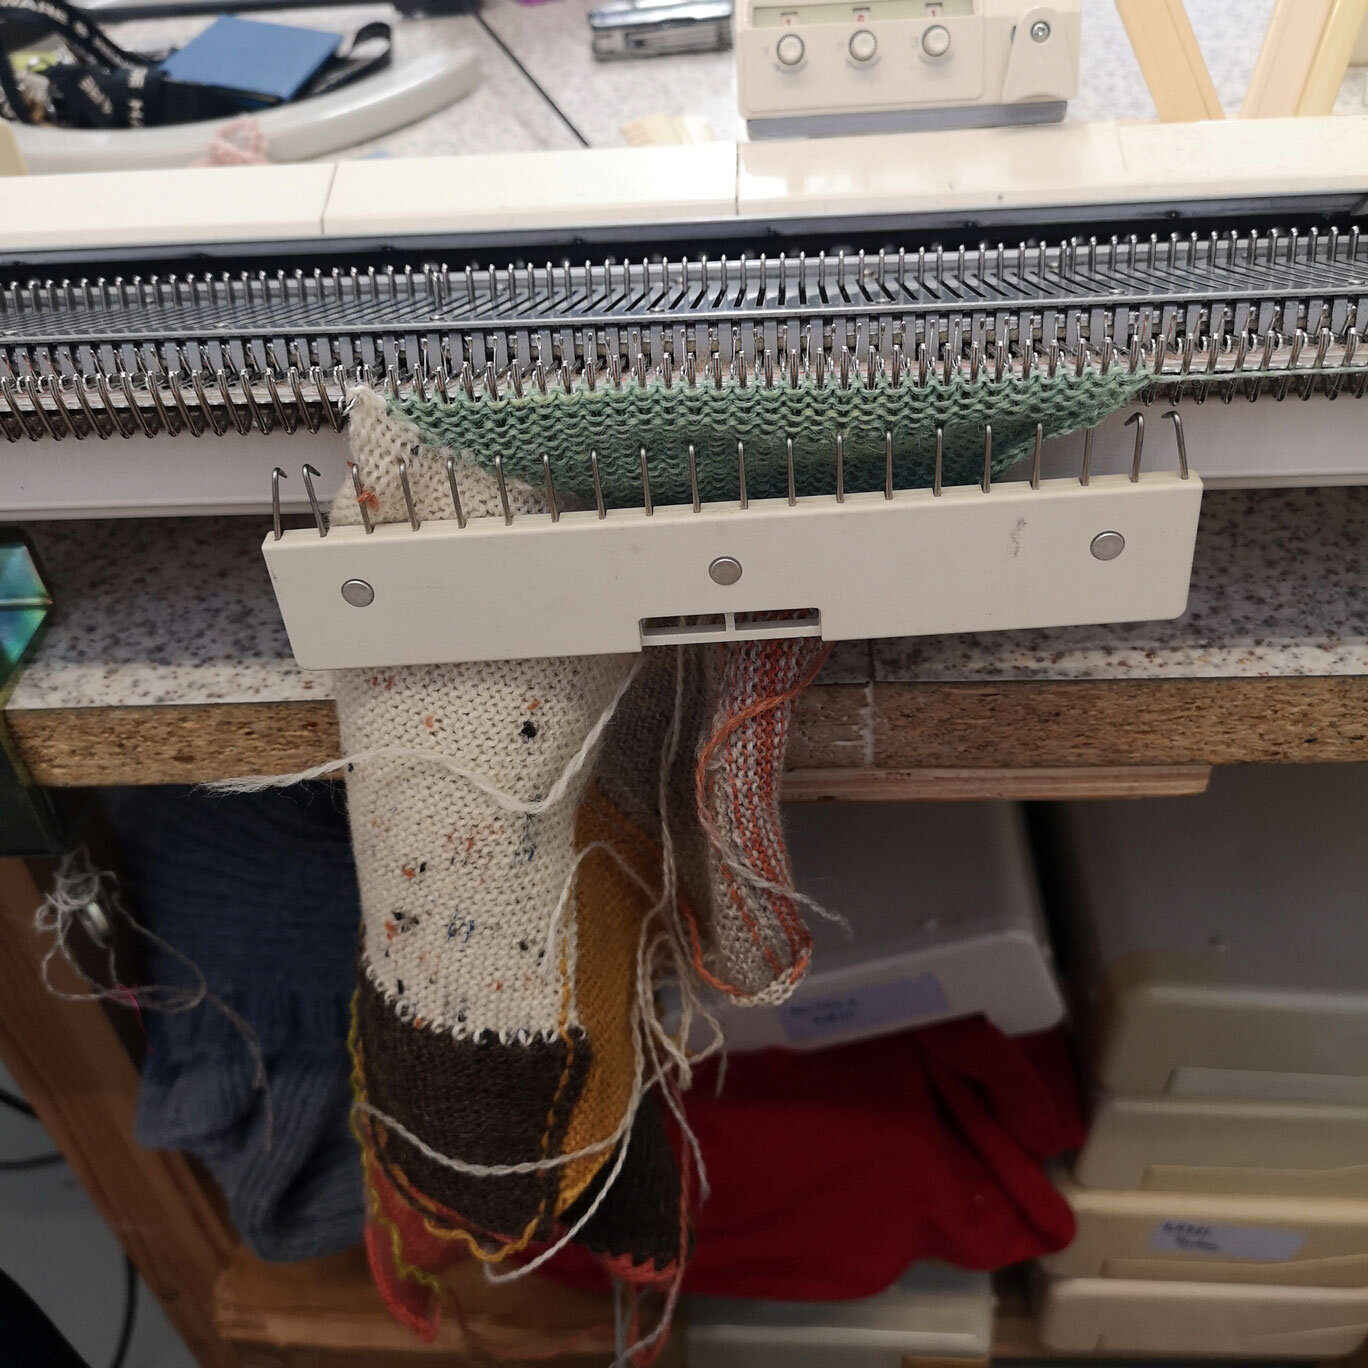
All of the needles are brought forward and weight added. I find the long claw weights seen in the middle photo above worked really well for this piece. The next segment is then knitted, increasing and decreasing as I see fit. I use a paper pattern which is a simple rectangle cut into the desired size of the finished garment, then work out as I go along which colours and shapes to add where.
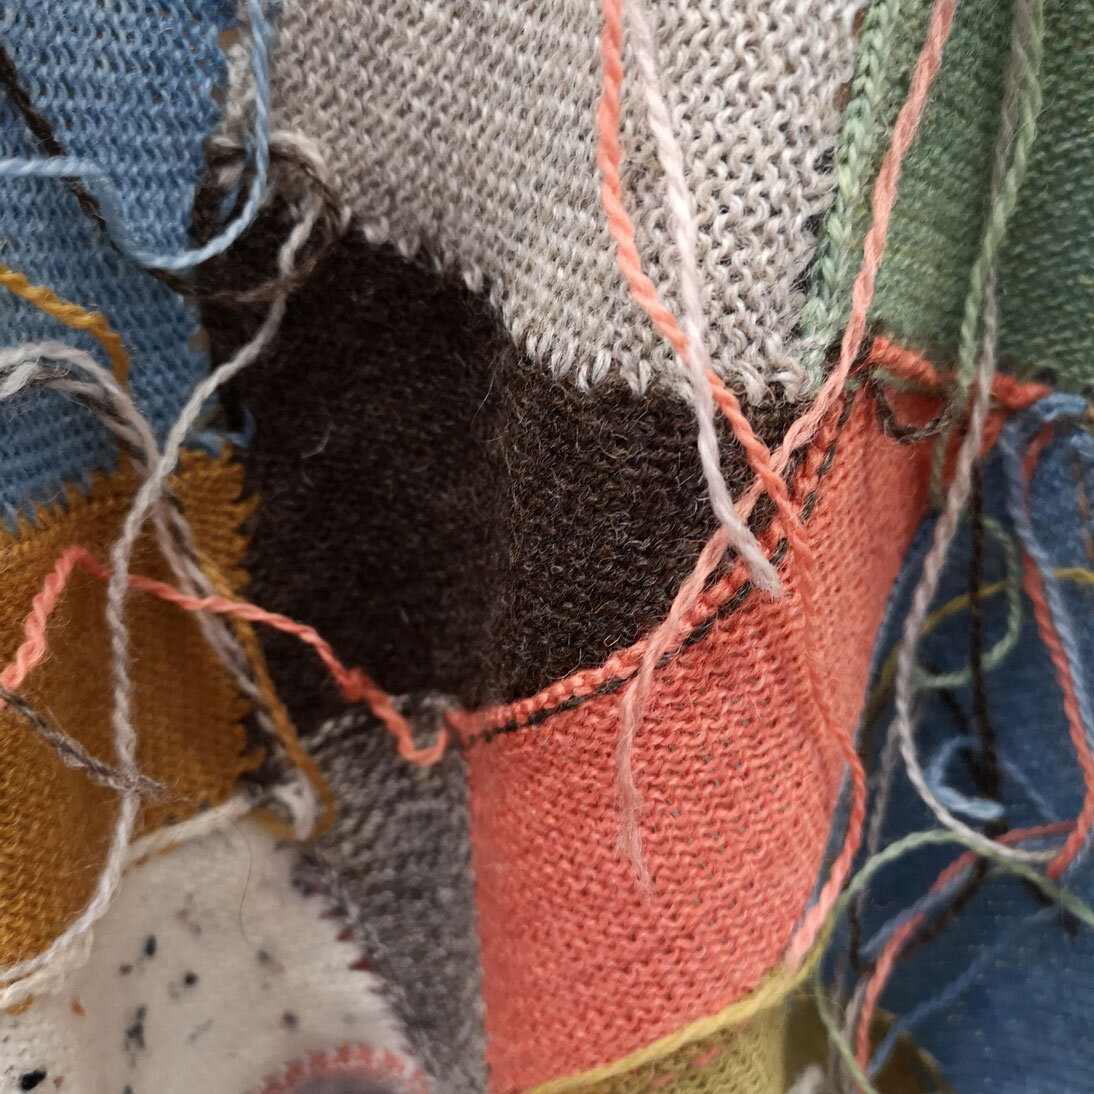
Colour, size and shape are all considered before I knit a new section - it’s creative and mathematical in equal measures! I have to be in a certain frame of mind to knit a piece like this, or otherwise I will make bad decisions and end up unravelling sections. As you can see there are many ends to sew in afterwards!
After knitting each segment, I ironed the piece flat to give me a better idea of how the finished fabric would sit. This was a really important part of the process, as it often made the knitting skew off in a different direction, or reveal an awkward bump that would need to be reworked.
To get an idea into my thought process during the making of this piece, I made GIFs of the front and back panels being assembled. I took a photo every time I added something new - bear in mind this was knitted over the course of a year, hence the different angles and lighting!
Modular Tunic - Constructing the Front Panel
Modular Tunic - Constructing the Back Panel
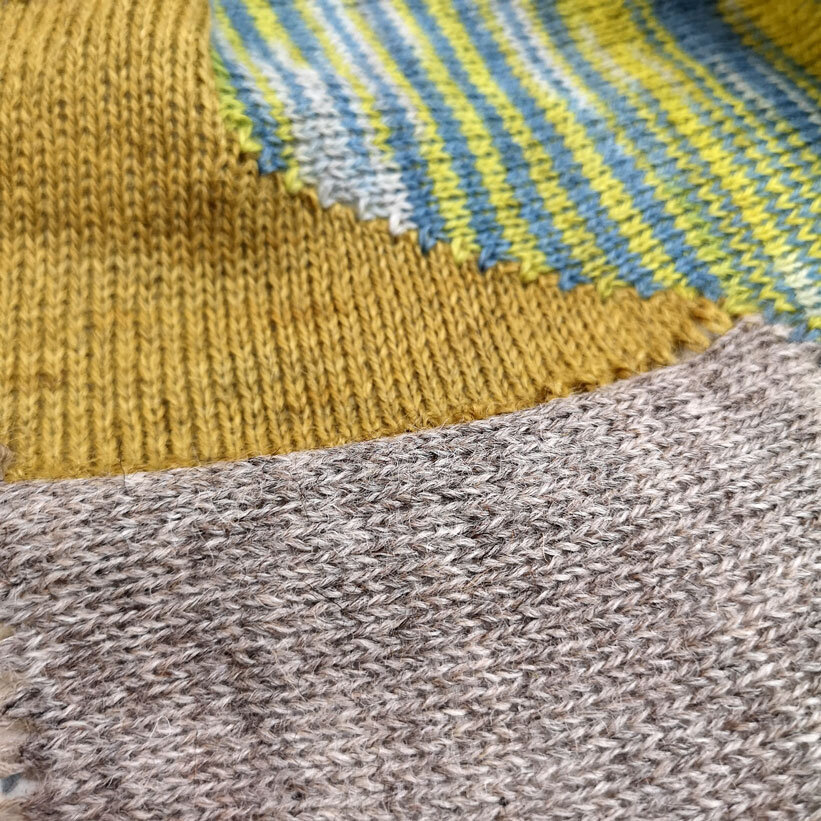
I encountered a few challenges whilst making this piece - sometimes I had to construct a segment that picked up a seam from multiple angles in order to get the piece to tesselate - I am particularly pleased with the segment (below left) that goes around a corner and fits so neatly. Occasionally, I was unable to join all sides of a segment in one go and had to hand stitch a few internal seams - luckily there were plenty of loose threads to use for this!
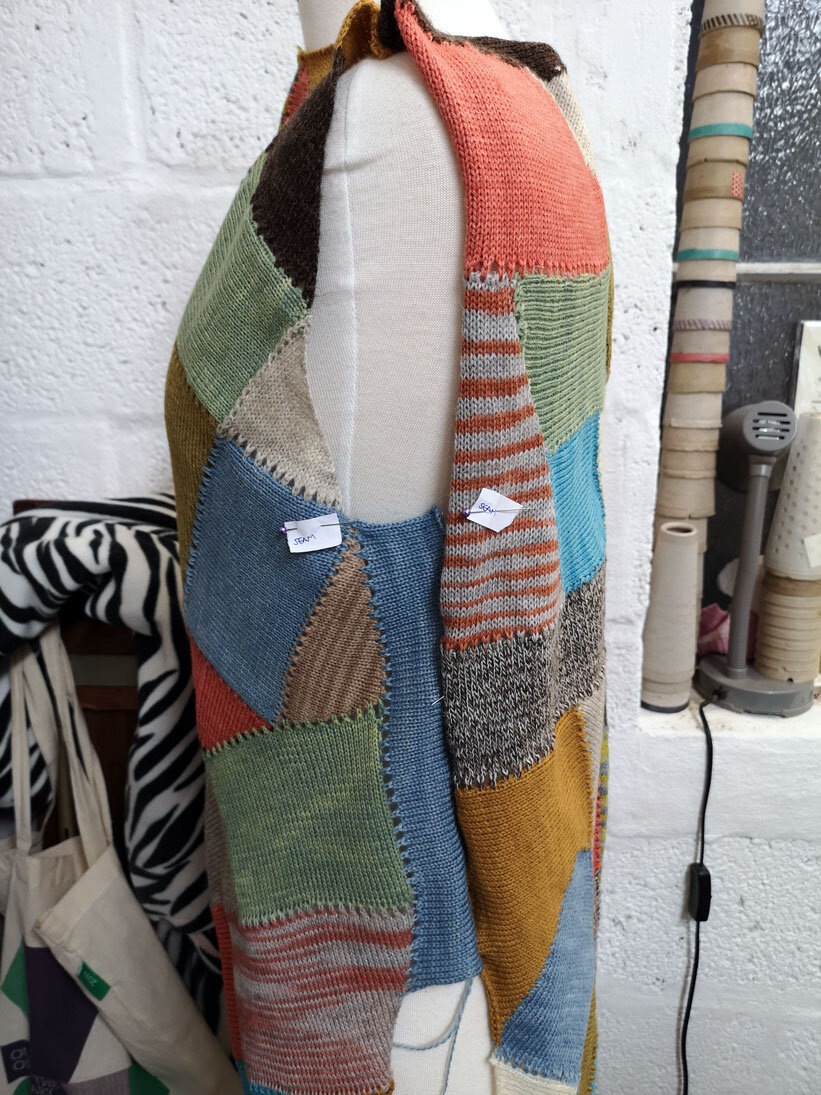
Once the tunic had reached the correct size, I had a fitting with the client. This revealed the need for side panels, and an edging around the neck and sleeves to stop rolling. These were added in an pale blue indigo dyed yarn, which features throughout the rest of the tunic and so complements the piece as a whole without being overpowering.
Below is the finished piece! Modular knits are one of the most challenging things I make, but I relish in the problem solving element as well as deciding on the colour and shape.
I have plans to make a jumper in this style next, watch this space. I’m also open for commissions again - no idea is too wild! Get in touch to discuss ideas.
If you'd like to learn how to use natural dyes to create vibrant colours like the ones seen in this tunic, I teach natural yarn and bundle dyeing workshops in Bristol and beyond - click here to see my upcoming dates.
I also teach machine knitting in Bristol for beginner's upwards - upcoming dates including one-to-one sessions can be found here.
If you’ve enjoyed reading this blog and found it helpful, why not buy me a virtual coffee on Ko-Fi? There’s no obligation, but your support will help me continue to write these blogs and progress my journey to being a self-sufficient natural dyer and knitwear designer. Ria :)

